|
|
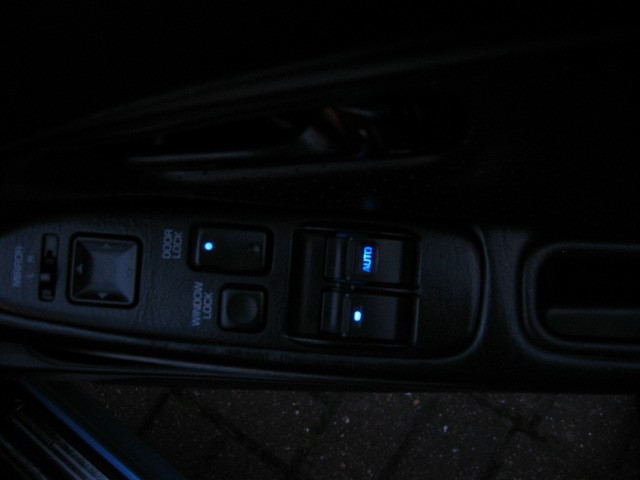
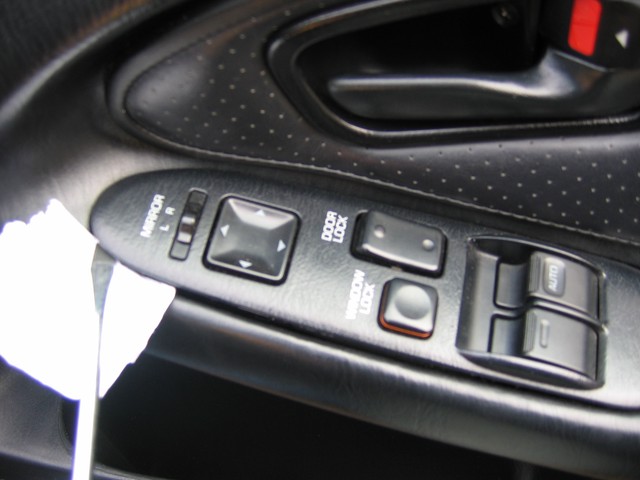
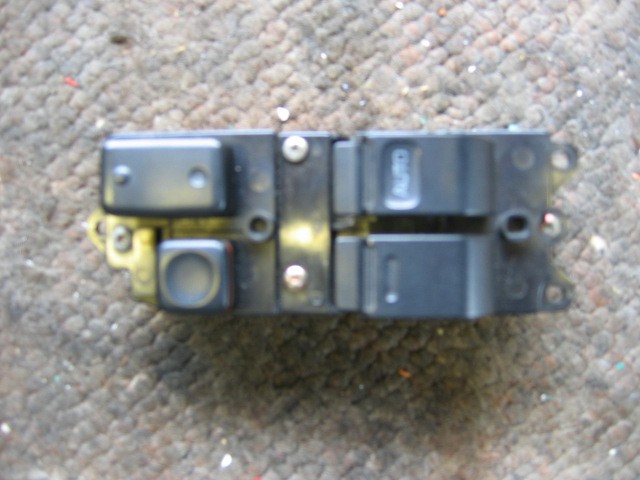
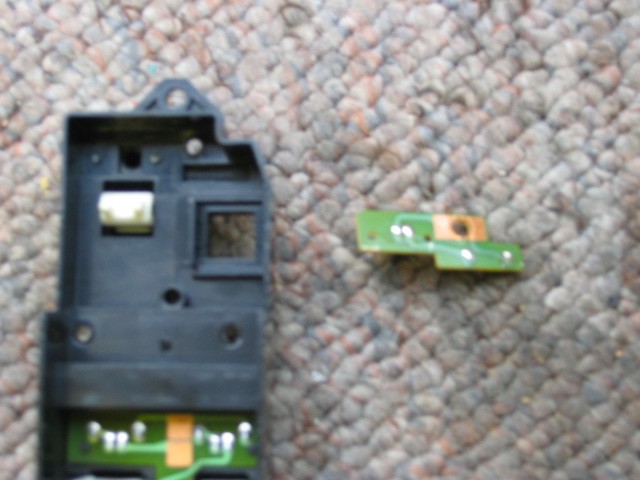
Look at what I did to my window switches.
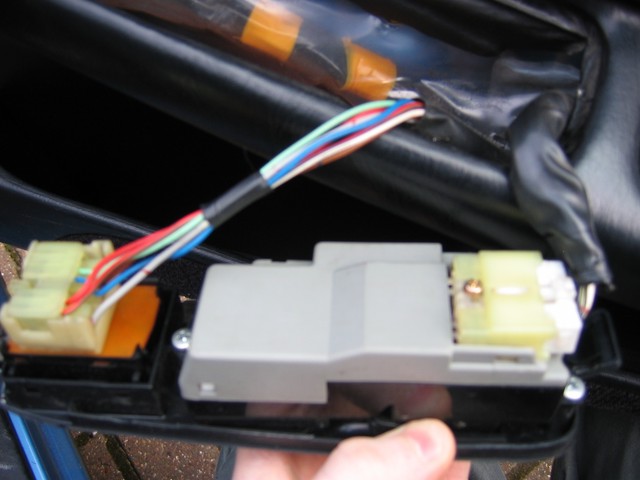
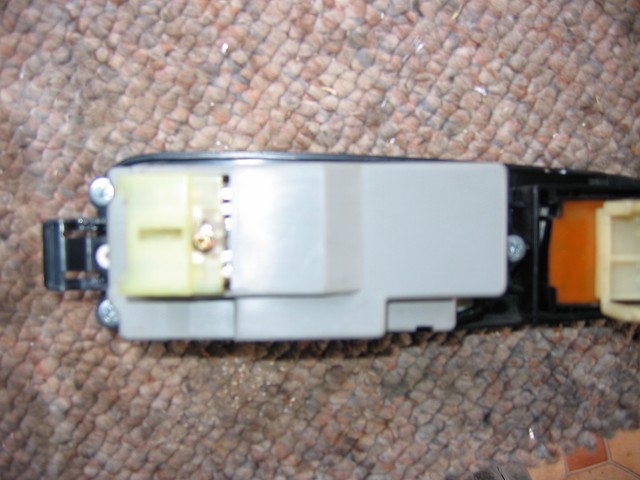
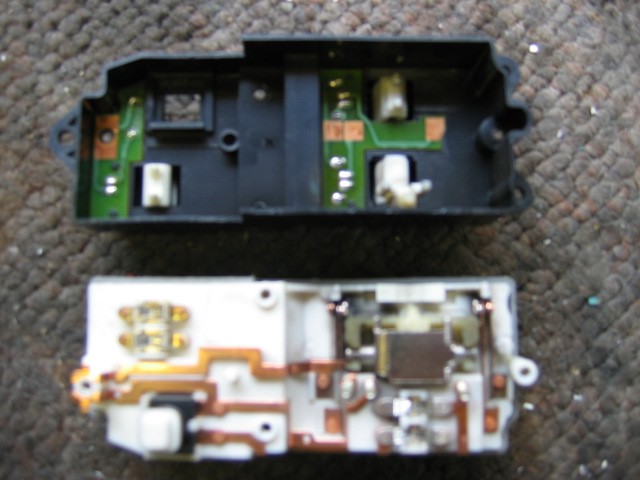
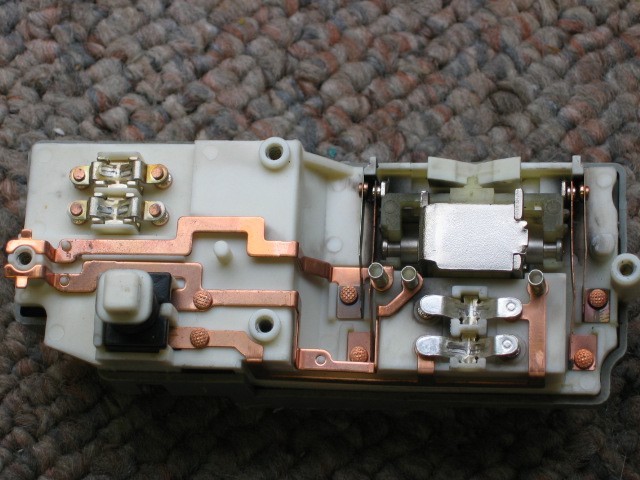
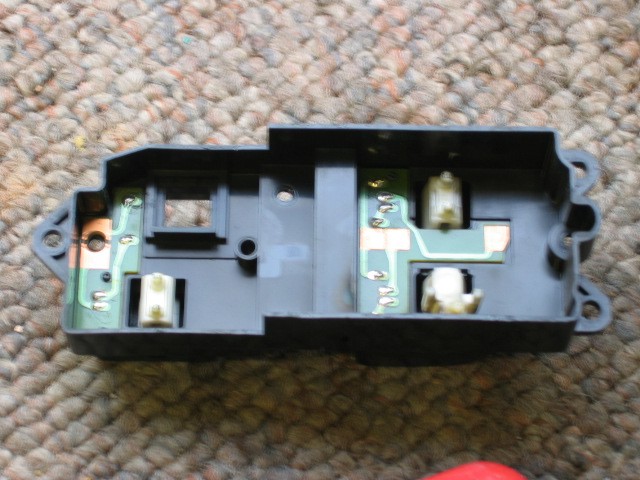
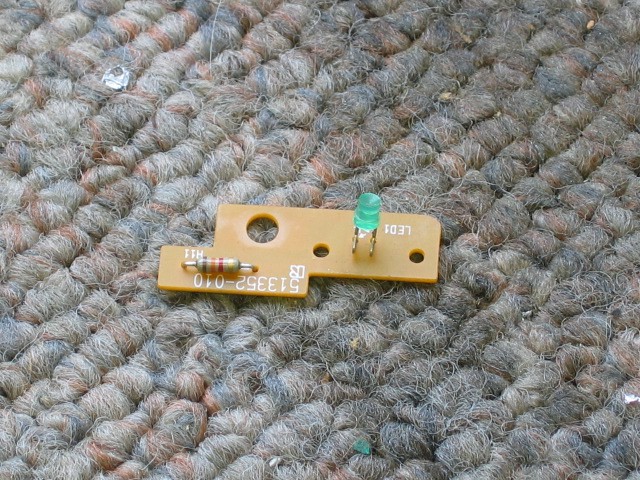
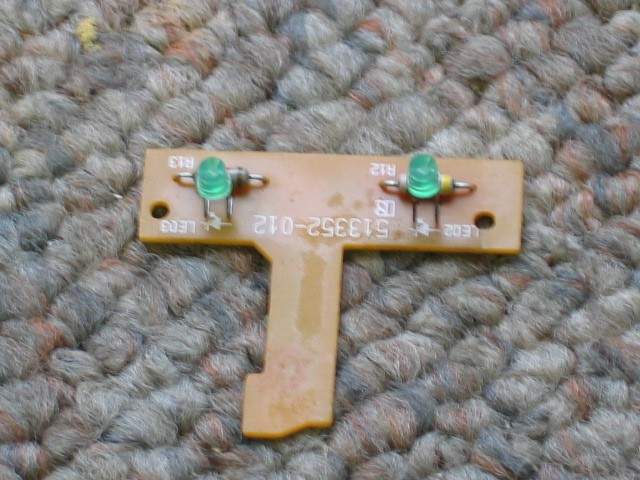
Please note you will need to be able to solder and have a soldering iron, solder wire, solder sucker or solder braid to do this bit.Note the way the LED is mounted in the board, pay attention to the markings on the board and the inside of the LED, they will only work one way round. They have an Anode and a Cathode! Carefully heat both legs of the old green LED's and pull though PCB (or use solder braid or solder sucker to remove solder) now try to clear the holes if they are blocked with solder braid or sucker. Do not push hard on the PCB board otherwise the copper track will peal off and be damaged. Bend the legs of the new blue LED so that they are identical (or close to) the original try to get the height the same, note the original LED's have a flat top the new ones have a domed top. Place the new blue LED back in PCB making sure that it is inserted the right way round and solder it back on, cut the remaining legs off. Using super glue, apply small drops to each of the black bits in the switch housing that stick though the board, then put PCB board back in the switch housing.Assuming you have successfully done the changeover and once the superglue has set, screw it all back together, making that all switches move as normal and that nothing is loose inside. Fit back into plastic surround, plug the 2 wire plugs back in and test with ignition on they should all light up blue, looks cool in the dark! © John Mears 2005
|